Django’s Default Static File Manager
In every web application, static files such as css, Javascript and images, give the website a unique look and feel and make it stand out of the crowd. For any user, a beautiful, professional-looking website is way more attractive than a rough, unpolished one.
In a Django application, we manage the static files using Django’s default static file managing components, such as django.contrib.staticfiles which collects all of your static files into one location so they can be served by a front-end web server like apache and AppDirectoriesFinder which looks for a “static” directory under each of the INSTALLED_APPS.
- Python’s Django vs Ruby on Rails
- How to Install Django on Windows, Mac and Linux
- How to Use Python Django Forms
Serve a CSS and an Image using Django
First, create a directory static inside our app myblog so that the directory structure becomes:
myblog/
  static/
Then, create a directory myblog inside the new static directory and another static directory underneath it so that the directory structure becomes:
myblog/
  static/
    myblog/
      static/
This kind of directory structure may look strange but it actually makes sense since Django’s AppDirectoriesFinder will search the INSTALLED_APPS or our myblog app and find the static directory underneath it recursively. Therefore, a stylesheet style.css located at myblog/static/myblog/static/style.css can be referenced as myblog/style.css inside our template files.
Now, we insert the following code into myblog/static/myblog/static/style.css:
p {
  color: red;
}
Then, we modify the template file to link the style.css file to test the file’s effects.
{% load staticfiles %}

{% if post_list %}
  <ul>
    {% for post in post_list %}
      <li>
    <a href="https://www.pythoncentral.io/post/{{ post.id }}/">{{ post.content }}</a>
    <span>{{ post.created_at }}</span>
      </li>
    {% endfor %}
  </ul>
{% else %}
  <p>No post is made during the past two days.</p>
{% endif %}
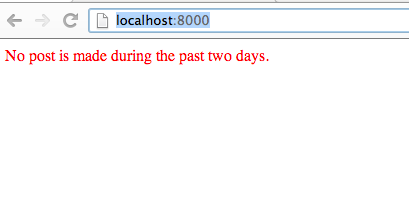
Now, reload the page http://localhost:8000/ and you will see that the element’s text becomes red:
 Then we can add a img element into the page which refers to a
 jpg stored in the static directory myblog/static/myblog:
{% load staticfiles %}

{% if post_list %}
  <ul>
    {% for post in post_list %}
      <li>
        <a href="https://www.pythoncentral.io/post/{{ post.id }}/">{{ post.content }}</a>
        <span>{{ post.created_at }}</span>
      </li>
    {% endfor %}
  </ul>
{% else %}
  <p>No post is made during the past two days.</p>
{% endif %}

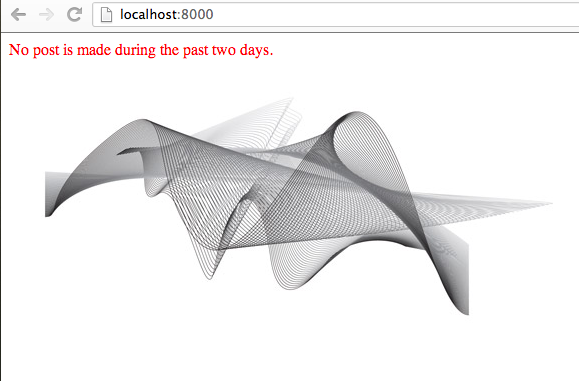
<img src="{% static 'myblog/background.jpg' %}" />
Now you can refresh the page http://localhost:8000 to see the new image displayed on the homepage.

Summary and Tips
In this article, we learned how to manage static files (images, css, javascript, etc.) in our Django application. One thing to remember is that Django’s internal static file manager and directory finder will automatically look for the files under myblog/static/myblog so it’s better to put the files in that directory instead of directly in myblog/. By putting the files in the designated directory, Django knows how to distinguish static files between different apps, such as myblog/style.css or myblog_version2/style.css.
